
In this guide, you’ll learn how to:
Install Apache, MySQL and PHP on Ubuntu 24.04.
Configure the server to securely host WordPress.
- Setup SSL with Let’s Encrypt
Set correct permissions and upload WordPress files.
- Install PHPmyAdmin and setup secure access.

WordPress powers over 40% of the web — and running it on Ubuntu 24 gives you the perfect balance of performance, security, and cost-efficiency. Whether you’re launching a blog, business website, or eCommerce store, Ubuntu 24 and WordPress make a powerful combo. In this guide, we’ll show you how to install WordPress on Ubuntu 24 using the LAMP stack (Linux, Apache, MySQL, PHP).
Key Benefits of Running WordPress with LAMP Stack on Ubuntu
Open Source & Free
Ubuntu, Apache, MySQL, PHP, and WordPress are all open-source.
You avoid licensing costs while maintaining full control over your stack.
High Compatibility with WordPress
WordPress is designed to run seamlessly on the LAMP stack.
All major themes, plugins, and tools are tested extensively in LAMP environments.
Performance Optimization
The LAMP stack is lightweight and efficient.
With tuning (e.g., using PHP-FPM, MySQL optimization, and Apache caching modules), it can handle high-traffic WordPress sites smoothly.
Ubuntu 24 includes updated PHP and kernel enhancements for improved performance.
Security
Ubuntu 24 includes strong default security features like AppArmor and frequent updates.
With Apache’s robust .htaccess rules and firewall integration (UFW), it’s easier to lock down access.
MySQL and PHP can be configured with strict permissions, and Let’s Encrypt provides free SSL for HTTPS.
We assume LAMP stack being installed on Cloud Instance so we are only concentrating on LAMP and WordPress setup and will not look into firewalling and filtering ports. However in production environment you want to make sure proper security is in place and all network access monitored and only necessary ports are being opened.
Step 1: Update Your System
Updating Ubuntu using apt update and apt upgrade is essential for maintaining the security, stability, and performance of your system. Regular use of apt update and apt upgrade keeps your Ubuntu system secure, stable, and up to date with the latest software.
sudo apt update && sudo apt upgrade -y
Step 2: Install Apache
Using the Apache Web Server makes sense because of its reliability, flexibility, and wide support. It is also Open Source and Free, Highly flexible, supports virtual hosting and has many robust security features.
sudo apt install apache2 -y
Enable and start Apache
					sudo systemctl enable apache2
sudo systemctl start apache2
Now you can test your web server by visiting http://localhostor DNS name and if its configured correctly it should show Apache’s default web page.
Step 3: Install MySQL Server
If you’re just starting or have no specific preference, MariaDB is often a better option for faster development and additional features. However in this article we will be installing and setting up data bases using MySQL.
Lest use apt to Install and enable mysql server.
					sudo apt install mysql-server -y
sudo systemctl enable mysql
sudo systemctl start mysql
Then we will run the following ALTER USERcommand to change the root user’s authentication method to one that uses a password. The following example changes the authentication method to mysql_native_password
					sudo mysql
ALTER USER 'root'@'localhost' IDENTIFIED WITH mysql_native_password BY 'password';
exit
We will now secure MySQL by running this interactive script.
sudo mysql_secure_installation
We will now create database and user to use during wordpress installation. Inside MySQL shell we will run following SQL commands.
					sudo mysql -u root -p
CREATE DATABASE wpdb;
CREATE USER 'wpuser'@'localhost' IDENTIFIED BY 'your_strong_password';
GRANT ALL ON  wpdb.* TO 'wpuser'@'localhost';
FLUSH PRIVILEGES;
Step 4: Install PHP
In a LAMP stack, PHP (Hypertext Preprocessor) is a programming language used to build dynamic web pages. It works alongside Linux, Apache, and MySQL/MariaDB to create a complete web development environment.
Lets install PHP with apt
sudo apt install php libapache2-mod-php php-mysql php-curl php-gd php-xml php-mbstring php-zip php-soap php-intl php-bcmath -y
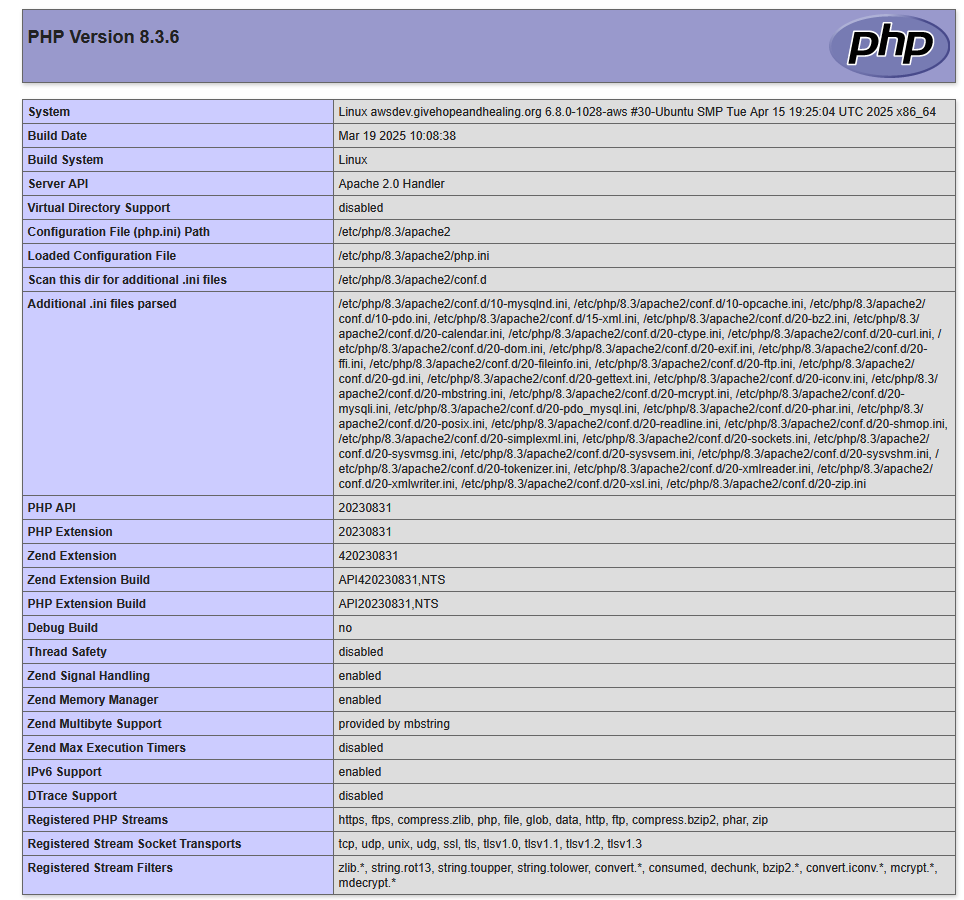
We will now test PHP by creating test.php file in the root web directory.
					<?php
phpinfo();
?>
We should be able to see PHP information like PHP version, extensions and so on.
Step 5: Enable SSL
To enable SSL on a website running on Ubuntu, you’ll typically use Let’s Encrypt (via Certbot) with a our Apache web server.
First we will install Certbot
					sudo apt update
sudo apt install certbot python3-certbot-apache
Next we will obtain and Install SSL Certificate. We will follow the prompts after running command below to select your domain and choose whether to redirect HTTP to HTTPS.
sudo certbot --apache
Lets test SSL renewal.
sudo certbot renew --dry-run
Optionally we can force HTTPS redirect by adding directive to configuration file.
					/etc/apache2/sites-available/000-default.conf
<VirtualHost *:80>
    ServerName example.com
    Redirect permanent / https://example.com/
</VirtualHost>
sudo systemctl restart apache2
Verify SSL by going to https://yourdomain.com to confirm it’s using HTTPS. You can also test with:
curl -I https://yourdomain.com
Step 5: Install phpMyAdmin
To install phpMyAdmin on Ubuntu 24.04, follow these steps. These instructions assume you already installed Apache, MySQL and PHP.
					sudo apt update && sudo apt upgrade -y
sudo apt install phpmyadmin php-mbstring php-zip php-gd php-json php-curl -y
Select Apache and follow instructions on the screen. Set application password as required.
http://your_server_ip/phpmyadmin
Please note that this type of installation of phpMyAdmin is not secure and only suitable for dev environments or isolated private networks.
Step 6: Enable WinSCP access for sftp(optional)
In some cases you will need to enable sftp access with passwords. You will need to make sure ssh port 22 is open and the following directive enabled.
					cd /etc/ssh/sshd_config.d
vim 60-cloudimg-settings.conf
PasswordAuthentication yes # make sure this is changed to yes
systemctl restart apache2
Looking for a new IT Partner?
Talk to us about your current business needs and future IT goals, so we can help choose the right technology to move your business forwards.